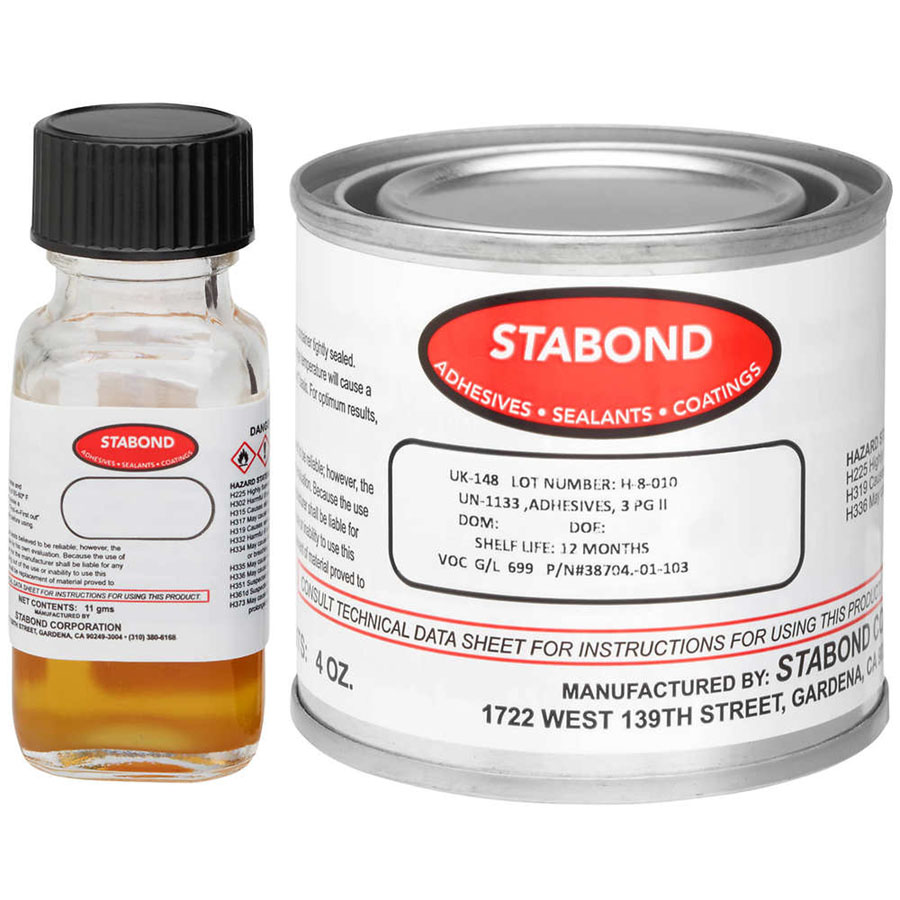
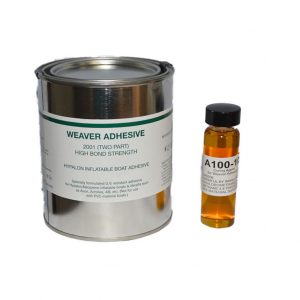
Stabond Crossover 2 part adhesive for both Hypalon and PVC boats. Perfect for when you don’t know what material your inflatable boat is made of.
- Important Shipping information: Adhesives, solvents, Liquid Rubber, and bottom paints are considered regulated material, and can only be shipped via ground transportation. Hazardous materials can not be shipped via the United States Postal service Priority mail. Hazardous materials can only be shipped via the United States Postal Service Parcel Select, or UPS ground. The Parcel Select service may delay delivery up to 7 days. The fastest method for shipping regulated material is UPS Ground.
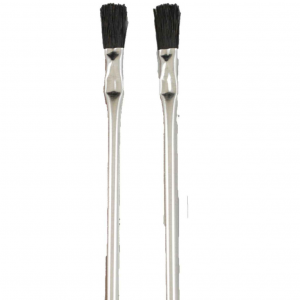
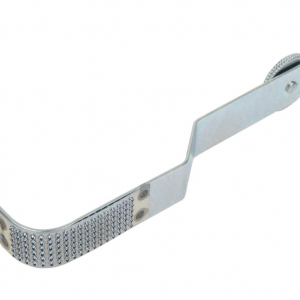
- Stiff brushes and roller rasps listed in related products below.
- Our glues are stored in an air conditioned facility and rotated quickly for freshness and effectiveness.
- Stabond 2 part adhesives include, Quart,16 oz. or 4 oz. can with catalyst.
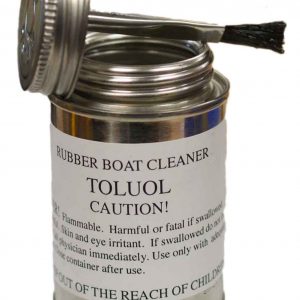
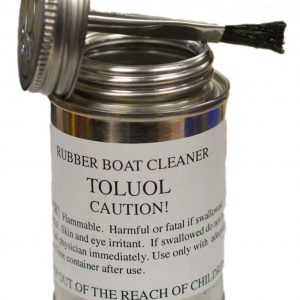
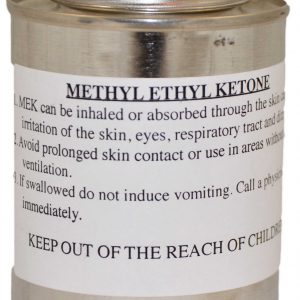
- Solvents are listed in related products below. If you don’t know if your boat is PVC or Hypalon, we suggest you use the MEK.
Instructions for Stabond Two-Part Adhesive for PVC & Hypalon Boats
Materials You Will Need:
- Fabric, d-ring, or mount that you want to apply
- Stabond 2 part adhesive with accelerator
- Cleaning Solvent, (MEK for PVC, Toluol for Hypalon)
- Lint free cloth or towel
- Roller Rasp
- Sand paper, 180 grit (for Hypalon boats only)
- Container with lid (for further precautions)
- Gloves (chemical resistant) & work goggles (optional, but recommended for protection)
*We suggest you work in a well-ventilated area, making sure the humidity level is not higher than 60% (garage works fine).
Prepping the Repair:
- Buff out the fabric. Use 180 grit sand paper (for Hypalon material only, PVC does not need to be sanded) or roller rasp. The flat part of the roller rasp is especially useful for any curved edge repairs.
- Measure the amount of fabric needed for the repair and cut to size, leaving 2” worth of give from all sides.
- Go over the buffed-out area with the appropriate solvent & lint free cloth. You want the area to be clean before applying any adhesive.
- Prepare your glue, mixing at a ratio of 10 parts glue to 1 part accelerator in a container that has a lid. Add 3 ml of accelerator per ounce of adhesive. Keep the glue covered while not in use.
Directions:
- Make sure both surfaces are dry after you have fully prepped.
- Mix: Add 3 milliliters of accelerator for each fluid ounce of glue, using a 10:1 ratio by volume.
- Apply both surfaces with 1 thin even coat of adhesive.
- Wait until that first coat dries (could take 10-30 minutes). Test it with your knuckle (should be able to feel the glue without your skin sticking to it).
- Apply a second thin layer of adhesive, this time only waiting 5-10 minutes. You don’t want it to be visibly wet, but surfaces should feel tacky (you do not want this layer to dry).
- Carefully & precisely press both parts of fabric together making sure to cover the entire area needed for the repair.
- Use your thumbs to press down as hard as you can and use the roller rasp to ensure pressure and alleviate any air bubbles.
- Let this dry for 24 hours.


